
A lovely situation to install a garden office on this occasion with lovely mature trees and views along the River Devon near Dollar in Central Scotland.

The log cabin kit delivered and time to transfer the timber to the base for assembly
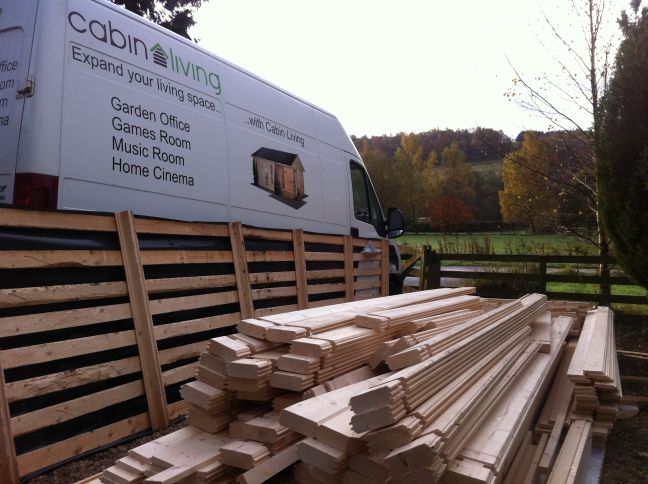
Plenty of pieces in the jigsaw. When the log cabin kit first arrives the shear amount of timber in the kit can be quite daunting. However sorting the various lengths into groups the same size and careful attention to the log cabin instructions and it all becomes a lot clearer.

Walls line up. A top tip with a low threshold cabin such as this you can use one of the rear wall logs (temporarily moved to the front) to ensure the front walls either side of the door are in the correct position before fixing them to the floor joists.

Floor joists fitted with damp proof membrane to avoid rising damp.

Door frame and double glazed windows fitted once the walls are high enough to support the frames. The double glazed windows and doors are quite heavy so much easier with an able assistant ohelp you lift them into place.

Time to get out the steps as we get above comfortable working height.


We offer an EPDM rubber roof kit which consists of one continuous sheet of EPDM rubber cut large enough to cover the entire roof. This heavy and durable material will offer many years of protection for your garden office.
Also in the kit is a tin of PVA adhesive which is rolled onto the majority of the roof. The edges are fixed down using a spray based contact adhesive.

With almost any garden office building we recommend 50mm Celotex insulation fitted in the floor and ceiling. Ceilings can be insulated using either the hot or cold roof system. For further details please get in touch.


Flooring fixed in this case with a second fix nail gun but there are wire nails in the cabin kit for both the roof and floor. It will be necessary to trim the last roof and floor board to fit so tools such as a circular saw and electric planer do help to finish the job.
